Minion Cake
Источник фото: https://ru.123rf.com/profile_nicescene
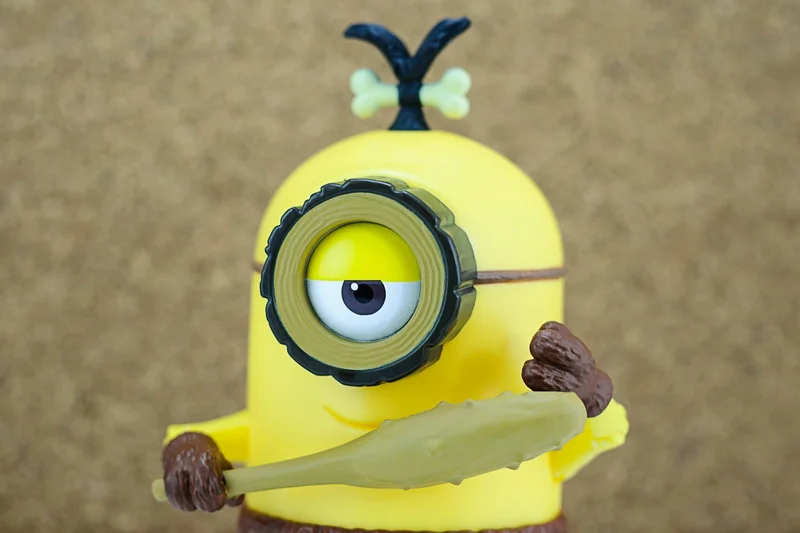
It was a lot of fun making the minion. The photo does not convey how bright and positive the cake is. Everyone really liked both the taste and the look.
How lucky the children are now. On holidays they receive cakes with various decorations. Be it heroes of your favorite cartoons or films, characters from fairy tales, etc. Whatever the children like, parents try to surprise and delight their child. After all, behind the beautiful and unusual design there is also a sweet delicacy hidden.
I made this cake for my friend’s son’s birthday party. It was a lot of fun making the minion. There are many of these characters in the cartoon, and they are all different; you can experiment for a long time. The photo does not convey how bright and positive the cake is. Everyone really liked both the taste and the look.
For the Mignon cake, I made a sponge cake with hot milk; it is not heavy, but at the same time has a dense structure. This biscuit cuts well and is very tasty. I baked the sponge cake in advance - in the evening, then wrapped it in film, and assembled the cake the very next day.
Ингредиенты
Biscuit:
Wheat flour - 270 g
Cocoa powder - 60 g
Baking powder - 10 g
Sugar - 330 g
Chicken egg - 6 pcs.
Butter - 120 g
Milk - 240 ml
Impregnation:
Boiled water - 50 ml
Sugar - 50 g
Cocoa powder - 10 g
Cream:
Cream 33% - 300 ml
Condensed milk (boiled) - 1 b
Oil cream:
Butter - 100 g
Powdered sugar - 2 tbsp.
Mastic - 600 g
Food coloring
Рецепт
1. Beat the eggs at medium mixer speed, gradually adding all the sugar. Continue beating at high speed. The mass should turn white and increase in volume well.
2. Mix flour, cocoa and baking powder and sift.
3. Combine butter and milk in a saucepan, place on the stove and bring to a boil, the butter should completely melt.
4. Pour the dry mixture into the eggs.
5. Gently mix with a spatula.
6. Add hot milk and butter in several steps. Stir every time.
7. Line a baking tray (31*21) with baking paper. Lay out the dough.
8. Bake the biscuit at 180 degrees for 25-30 minutes. Check readiness with a toothpick or wooden stick. Cool the cake on a wire rack.
9. At this stage it is important to decide what size the cake will be. Trim a little edge.
10. Trim the top and bottom a little, rounding the corners. The lower part will be slightly narrower.
11. Cut the sponge cake into three layers.
12. For the cream, prepare chilled cream and boiled condensed milk.
13. Whip the cream to soft peaks, add condensed milk and beat until completely combined and stable cream.
14. We begin to assemble the cake. Soak the first sponge cake and apply cream.
15. Place the second sponge cake on top, soak and spread the rest of the cream. Cover with biscuit and coat with remaining soaking. The sides (in the part where the cream is) can be sprinkled with biscuit crumbs, this will make it easier at the next stage.
16. For the buttercream, remove the butter from the refrigerator in advance. Beat with powdered sugar for 5-7 minutes.
17. Line the cake with buttercream.
18. For convenience, you can put the cake in the freezer for a couple of minutes to make the edges and surface smoother. I level it with a long knife.
19. Add yellow dye to the white mastic.
20. Knead thoroughly until the color is uniform.
21. Sprinkle the table a little with powdered sugar. Roll out the mastic into a layer larger than the cake itself. Cover the cake with it.
22. Using a special iron or just using your hand, smooth the surface and edges of the cake. Trim off excess mastic.
23. Color the mastic blue.
24. Roll into an oval layer. Cut one side evenly with a knife. Try on future pants for the minion.
25. Cut the mastic according to the ruler. Lightly coat the bottom with a thin layer of water. It is more convenient to do this with a brush. Cover the cake, trim off the excess again. Make straps. Also glue, lightly moistening with water. Make two identical circles from white fondant; these will be the minion’s eyes.
26. Paint some mastic gray and black. Make two identical flagella from gray mastic, wrap in circles, and glue with water. Place your eyes on the cake, don’t forget to moisten them a little with water. Make straps on both sides from black mastic. Make pupils in the center.
27. Make hands from yellow mastic, and make palms from black mastic. Make legs or just boots.
28. I made a mouth out of pink fondant and glued white teeth onto it. It immediately became more fun. And the final touch is the hairstyle. You can go over the entire cake with a brush dipped in water to remove excess powdered sugar.
29. Decorating such a cake is, of course, an individual process. How does one's imagination work? The details will be different for everyone. The Minion cake turned out big and very tasty! Have a nice creative process! Bon appetit!